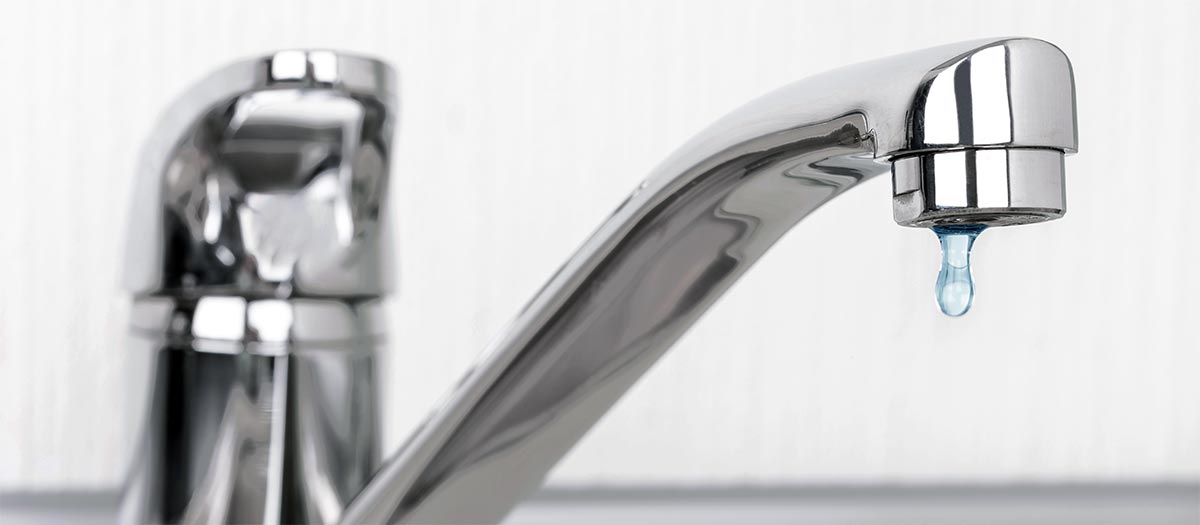
Faucet leaks
It may seem like a small issue, but a leaky faucet can waste several gallons of water per day. In addition, a dripping faucet may deteriorate a sink bowl and provide moisture for ants, flies, and other insects.
Fixing a leaky faucet
With so many types of faucets on the market, the best source of repair information for a specific product is the manufacturer's website. However, most faucets have a similar assembly with the same basic parts.
- Purchase a repair kit at your local hardware store. The kit should include a special adjusting ring wrench, seals, springs, and O-rings. Washer assortment kits may be more cost-effective than buying washers individually.
- Shut off the cold and hot water supply valves below the sink.
- Close the drain. This will prevent materials from accidentally slipping into the drain while you are working.
- Wrap the wrench with masking or duct tape to prevent scratching the fixtures.
- Write down and/or lay out parts to remember their order.
- Faucet handles usually have a plastic decorative button that conceals a screw underneath. Unscrew this to allow the handle to be removed. Grip the large hexagonal nut and unscrew it to reveal the stem. If your faucet does not have decorative handles, simply unscrew the already exposed hexagonal nut.
- With the hexagonal nut loose, pull out the stem.
- At the bottom of the stem you will see a rubber washer held in place by a screw. Remove and replace the washer with one of the same size, then reassemble.
- If the faucet leaks only when the faucet is on, follow steps 1-5 then replace the packing (the pliable material beneath the hexagonal nut).
- Coat the threads of the stem with petroleum jelly.
- Reassemble the faucet and turn the supply valves back on.
- If the faucet continues to leak, the outer housing may be cracked. If this is the case, buying a new faucet may be the only solution.